
You set aside what seemed like a generous renovation budget, but somewhere between the first demo day and the second change order, the numbers stopped making sense. Most homeowners blame contractors or fancy finishes, but the real budget killers are usually the boring, invisible systems nobody thinks to inspect before swinging a hammer. Understanding where money actually leaks out of a renovation project is the first step toward protecting the budget you worked hard to save. This guide walks through the hidden costs that quietly drain renovation funds before the visible work even begins.
Hidden Utility Problems That Surface During Demolition
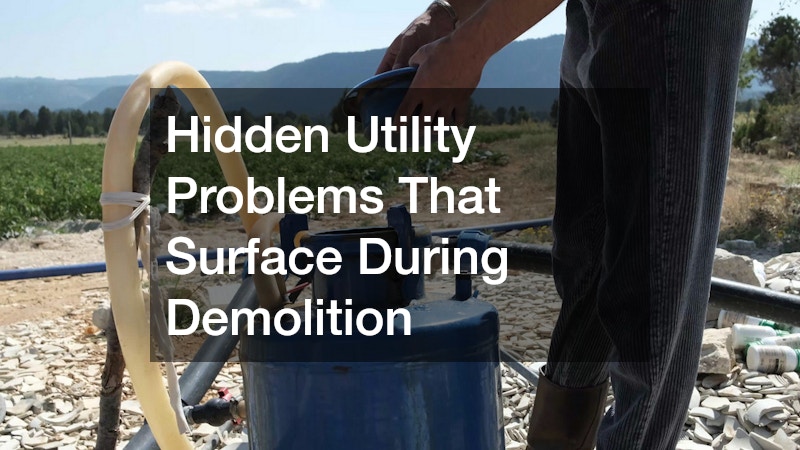
Once walls come down, contractors often uncover plumbing, electrical, or water supply issues that were never part of the original estimate. A property relying on a private well is especially vulnerable, since old piping or a failing pump can turn a simple kitchen remodel into a much larger project. Homeowners in rural or suburban areas without municipal water hookups should have their system checked before renovation begins, not after.
Getting ahead of this means calling water well and drilling companies early in the planning process so you know the condition of your water source before you commit to a budget. A pre-renovation inspection can reveal whether the well casing, pump, or pressure tank needs attention, allowing you to build that cost into your plan rather than discover it mid-project.
- Schedule a well inspection before finalizing your renovation budget
- Ask about water quality testing alongside flow rate and pump condition
- Budget separately for well repairs if the system is more than 15 years old
- Keep contact information for a specialist handy in case issues appear during digging
Septic System Surprises Beneath the Yard
Renovations that involve excavation, additions, or landscaping changes frequently intersect with septic lines homeowners forgot existed. Many people haven’t looked at a site plan since closing on the house, and tanks or drain fields installed decades ago may not match current property records at all. Digging too close to a tank or drain field can cause costly damage, ranging from a cracked pipe requiring a simple repair to a collapsed drain field that costs $10,000 or more to replace.
A system that hasn’t been serviced in years may already be operating at or near capacity, which means adding a bathroom, bedroom, or extra square footage could push it past its limit. Septic systems are typically sized for a specific number of bedrooms, so an addition that increases occupancy may trigger a required upgrade before permits are even approved. Local health departments often get involved at this stage, and their timelines rarely match a contractor’s schedule.
Before any heavy equipment touches your yard, it pays to know exactly where your septic components sit and how well they are functioning. A licensed septic inspector can locate the tank, drain field, and any distribution lines, then assess sludge levels and structural condition for a few hundred dollars. That inspection is far cheaper than discovering the hard way that your excavator just drove over a leach field.
Scheduling septic pumping before a major renovation begins accomplishes two things: it reduces the risk of an overflow during construction and gives you a clear picture of the tank’s condition before heavy equipment starts rolling across the yard. Most residential tanks need pumping every three to five years anyway, so if you can’t remember the last service date, treat the renovation as your reminder.
A technician can also flag cracks, corrosion, or root intrusion that would otherwise turn into a surprise repair bill once the yard is already torn up. Roots from mature trees are a common culprit, especially with older clay pipe systems, and catching that damage early can save you from excavating the same area twice.
It’s also worth having the technician mark the tank lid and drain field boundaries on a rough sketch or with stakes before framing crews, dumpsters, or heavy machinery arrive. A single delivery truck parked over a tank lid can crack it, and compacting the soil above a drain field can shorten its lifespan by years. That five-minute walkthrough often costs nothing extra and prevents thousands in avoidable damage.
- Locate and mark your septic tank, lid, and drain field before excavation starts, using old permits or a locator service if records are missing
- Have the tank pumped and inspected if it’s been more than three years, and repair any cracks or root intrusions before construction adds stress to the system
- Avoid heavy equipment traffic directly over the drain field, since compacted soil can crush pipes and reduce the field’s ability to absorb wastewater
- Keep new additions, patios, or driveways at least 10 feet from the drain field to allow future access for repairs
- Share your renovation plans with your septic service provider for guidance on load limits and safe staging areas
- Budget a contingency fund for unexpected repairs, since disturbed systems often reveal aging components once uncovered
Exterior Masonry Costs Homeowners Rarely Anticipate
Many renovation budgets focus entirely on the interior, leaving exterior masonry as an afterthought until a contractor points out crumbling mortar or a cracked facade. Adding curb appeal through updated brick can significantly increase resale value, but matching existing material is trickier than it sounds. Color, texture, and brick size all vary by manufacturer and era, which makes sourcing a close match one of the more time-consuming parts of an exterior update.
Working with local brick veneer suppliers early allows you to compare samples against your existing exterior before demolition begins, avoiding delays later in the project. This is especially important if you are only replacing a section of wall rather than the entire facade, since mismatched brick is one of the most common regrets homeowners report after a renovation.
- Bring a sample brick to compare against new stock before ordering
- Ask about lead times, since custom color matching can take weeks
- Consider veneer options if structural brick replacement isn’t necessary
- Factor in mortar color matching, which affects the overall look as much as the brick itself
HVAC Repairs That Emerge Once Walls Open Up
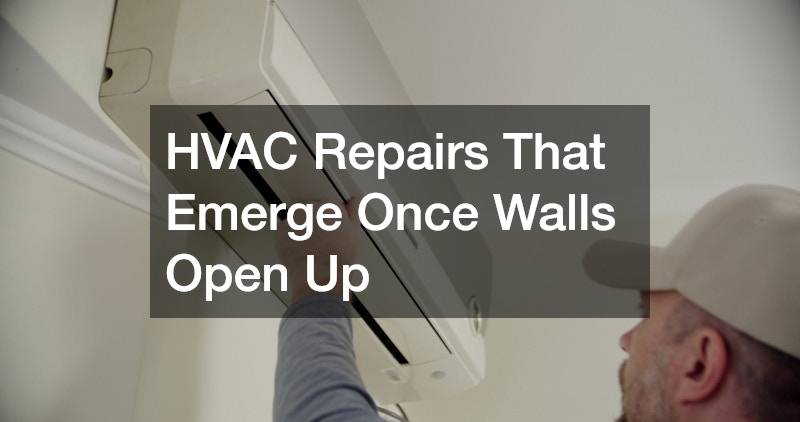
Opening up walls or ceilings often exposes ductwork and HVAC components that have been quietly deteriorating for years. Disconnected ducts, undersized returns, or an aging condenser unit can all surface once a renovation crew starts working around them. Ignoring these issues rarely saves money, since a system already under strain will only work harder once new square footage or altered airflow patterns are added.
Bringing in local AC repair companies during the planning phase, rather than waiting for a mid-project emergency, gives you the chance to address problems on your own timeline and budget. A quick inspection can determine whether existing equipment can handle the renovated space or whether upgrades should be built into the overall project cost from the start.
- Ask for a system inspection before renovation begins, not during
- Request load calculations if you are adding square footage
- Replace damaged ductwork while walls are already open to save labor costs
- Get a written estimate for any recommended upgrades before demolition starts
Structural Settling and Uneven Flooring Before Renovation Work Begins
A surprising number of renovation budgets get derailed by a problem that has nothing to do with the new design: an uneven or sinking foundation. Cracks in drywall, sticking doors, or sloped floors are common signs that the ground beneath the home has shifted, and these issues need to be addressed before new flooring, cabinetry, or tile work goes in. Skipping this step often means redoing finished work later, which costs far more than fixing it upfront.
Companies specializing in concrete leveling can often correct minor settling issues without the expense of full foundation replacement, using techniques like polyurethane injection to stabilize the slab. Getting this evaluated before renovation begins protects the investment you are about to make in new finishes, since nothing ruins a fresh remodel faster than floors that continue to shift.
- Watch for cracked tile, sticking windows, or gaps around trim as warning signs
- Get a professional evaluation before installing new flooring
- Ask whether slab jacking or polyurethane foam injection fits your situation
- Compare leveling costs against the price of redoing finished work later
Material Sourcing Delays That Quietly Inflate Costs
Renovation timelines often stretch far longer than expected, and every extra week on a job site adds labor costs, storage fees, and scheduling headaches. A major contributor to these delays is waiting on framing materials, trim, or specialty wood products that were not ordered far enough in advance. Lumber prices and availability can shift quickly, and a renovation plan built around outdated pricing assumptions can blow past its budget before the framing is even finished.
Working directly with lumber services that can confirm pricing and availability before your project starts helps you lock in costs and avoid last-minute substitutions that rarely match the original design intent. It also gives your contractor a realistic timeline to plan around, rather than guessing at delivery windows that may slip.
- Order specialty or custom-cut lumber several weeks ahead of the start date
- Ask for price locks or quotes valid through your project timeline
- Confirm delivery scheduling matches your contractor’s framing dates
- Have a backup material option in mind in case of shortages
Moving and Storage Logistics During a Full Home Renovation

When a renovation covers multiple rooms or the entire house, homeowners often underestimate how much it costs to live around the construction. Furniture needs to be moved, protected, or stored offsite, and doing this without help frequently leads to damaged belongings or wasted weekends. This is a cost that rarely appears in the original renovation quote but adds up quickly once you factor in time, effort, and the risk of damage.
Hiring local movers to relocate furniture into a storage unit or a section of the house unaffected by construction can actually save money in the long run by preventing dust damage and breakage. Many moving companies offer short-term storage options specifically designed for renovation projects, which makes this a more affordable line item than most homeowners expect.
- Get quotes for short-term storage alongside moving services
- Ask about protective wrapping for furniture staying onsite during construction
- Schedule moving dates around your contractor’s demolition timeline
- Compare the cost of professional movers against potential damage to furniture
Flooring Transitions and Area Rug Choices After Renovation
Once new flooring goes in, many homeowners realize their existing area rugs no longer match the updated color palette or room dimensions. This is a smaller cost compared to structural repairs, but it is one that often gets overlooked in the initial budget and then becomes an unplanned expense at the very end of the project. Rug size, in particular, becomes an issue when room layouts shift due to new cabinetry, wall placement, or flooring direction.
Visiting a rug store toward the end of your renovation, once flooring and paint colors are finalized, helps ensure your selections actually complement the finished space rather than clashing with it. Waiting until this stage also prevents the common mistake of buying a rug too early, only to find it doesn’t fit the room once construction wraps up.
- Measure your finished room dimensions before shopping for a new rug
- Bring flooring and paint samples when comparing options in person
- Consider rug pads to protect new flooring from shifting or scratches
- Wait until major construction dust has settled before final rug placement
Chimney and Fireplace Inspections Before Interior Work Starts
Homes with a fireplace often need a chimney inspection before any renovation work begins nearby, especially if the project involves new flooring, mantels, or structural changes to the surrounding wall. Creosote buildup, cracked flue liners, or damaged masonry can pose safety risks that are easy to ignore until construction disturbs the area. Addressing chimney issues early prevents costly rework if problems are discovered after new materials are already installed.
Scheduling a visit from a local chimney sweep before renovation begins ensures the fireplace is safe to use once the project wraps up and identifies any repairs that should happen before finishes go in around it. This step is easy to overlook, but it protects both the safety of your home and the investment you are making in the surrounding renovation work.
- Schedule a chimney inspection before starting nearby construction
- Ask about creosote buildup and flue liner condition
- Address masonry cracks before installing new flooring or mantels
- Confirm the chimney is safe to use again once renovation work is complete
Driveway and Exterior Surface Updates Homeowners Often Delay

Exterior renovations frequently include driveway or parking area updates, and these projects sometimes require professional line marking for safety or organization, particularly for larger properties or homes with multiple vehicles. This detail is easy to overlook, but it becomes relevant when a renovation includes new garage layouts, additional parking spaces, or accessibility considerations. Skipping this step can lead to confusion or safety issues once the exterior work is finished.
Bringing in pavement marking companies toward the end of an exterior renovation ensures parking areas, walkways, and driveways are clearly defined and compliant with any local guidelines. This is a small cost relative to the rest of an exterior renovation, but it finishes the project with a polished, functional result.
- Plan pavement marking after paving or resurfacing work is complete
- Ask about reflective or durable paint options for high-traffic areas
- Confirm any local code requirements for accessible parking markings
- Schedule this work as one of the final steps in an exterior renovation
A renovation budget rarely disappears because of one dramatic mistake; it usually leaks away through a series of overlooked systems and last-minute discoveries. By inspecting wells, septic systems, HVAC equipment, chimneys, and structural elements before demolition begins, you give yourself the chance to plan for real costs instead of reacting to surprises. Take the time to line up inspections and quotes for these often-ignored areas before your project starts, and you will protect both your budget and your peace of mind throughout the renovation.
About the Author